Putting something under your power rack protects your weights, your floor, and makes lifting safer. Here’s a look at what kind of flooring to use with your power rack.

Investing in a power rack is one of the highlights of your journey towards building an epic home gym.
But when it comes to protecting your floor, things get a lot trickier.
In this article, I am going to detail everything you need to know about choosing the right flooring to put under your power rack.
Let’s jump right in.
Do I have to put something under my power rack?
Well, no, you don’t have to. There is no Power Rack Police that will come around and give you a stern talkin’ to if you don’t.
But there are some very good reasons why you should put something under the rack.
Protect the floor.
For starters, some type of flooring will protect your floor and foundation.
Accidents happen, weights get dropped, and while an exercise mat or horse stall mat won’t completely cancel the risk of damage (especially if you are lifting a lot of weight), the right flooring can go a long way in protecting the floor, regardless of its concrete, hardwood, concrete, and so on.

Noise reduction.
Gym flooring of any kind is great for reducing the clanging and banging that comes with lifting heavy weight.
When racking a barbell, for example, it will vibrate through the columns of the rack into the floor below.
There are a lot of benefits of getting to lift heavy at home in your garage, but when you have kids sleeping in the next room, it’s nice to mitigate some of the noise.
A strong and even flooring keeps the rack and equipment in place when applying vertical (squats, for example) and lateral (banded exercises, using a TRX strap off the top bar of the cage) pressure on the rack. Lateral pressure, in particular, will cause the rack to move when it’s not on solid ground.
Stabilizes the rack (when bolted down).
A lot of squat rack manufacturers will recommend that you bolt the rack down into the floor.
For heavy-duty six-column racks this isn’t really a concern, but for the rest of us, and especially owners of the cheaper $300-500 racks that proliferate Amazon, it’s worth bolting it down.
The inexpensive racks that I am referring to are very light, some made of 14-gauge steel (which is thin), making them more prone to teetering and sliding.
See also: How Much Space Do You Need for a Power Rack?
Putting something down under your mat, like rubber horse stall mats, and then bolting the rack to the floor gives you the best of both worlds: protect and stabilize the rack while also increasing safety during use.
Another solution to stabilize the rack, of course, is to load the bottom of it with bumper or weight plates on a peg to bottom-load the rack.
Safety first.
Finally, putting proper flooring under your power rack makes lifting safer.
How?
Well, for starters the rack will teeter and wobble less when you are working out, whether that’s re-racking a barbell loaded with bumper plates or doing pull-ups off of the multi-grip bar up top.
Secondly, the flooring underneath a rack helps to even things out so that the rack is level when you are exercising.
What should you use under a power rack?
There are a lot of options for things you can put under a power rack.
Here are the main ones, including pros and cons for each.
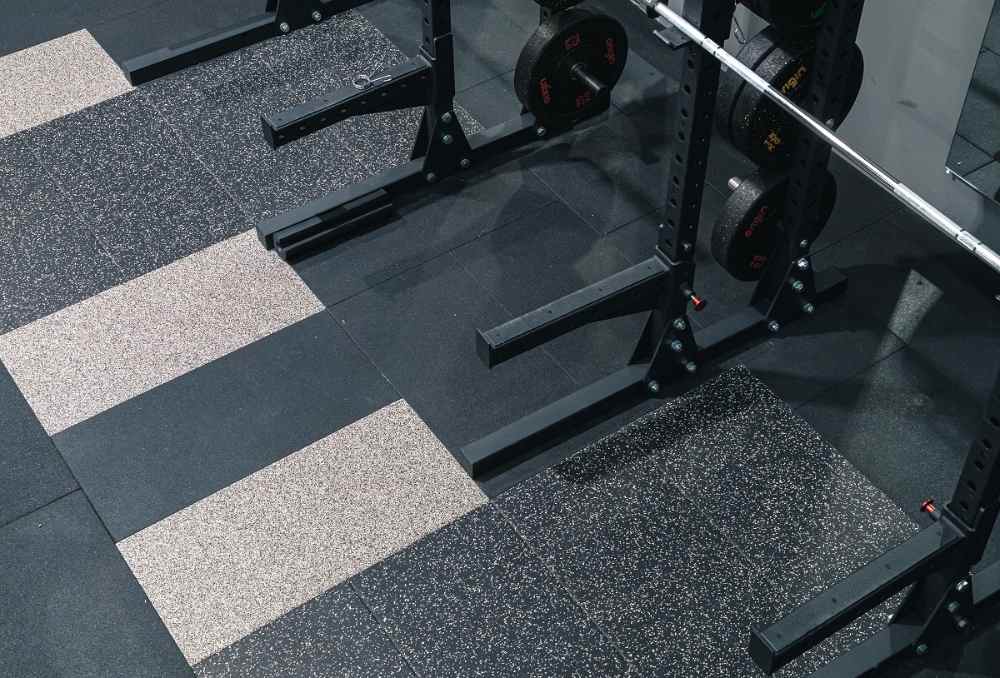
Rubber or high-density EVA foam mats
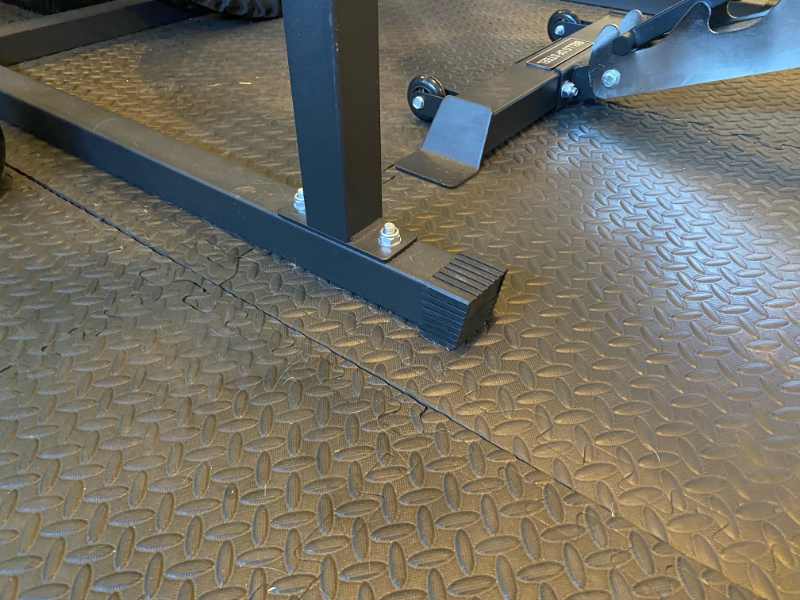
There are two types of interlocking mats you can put under your power rack:
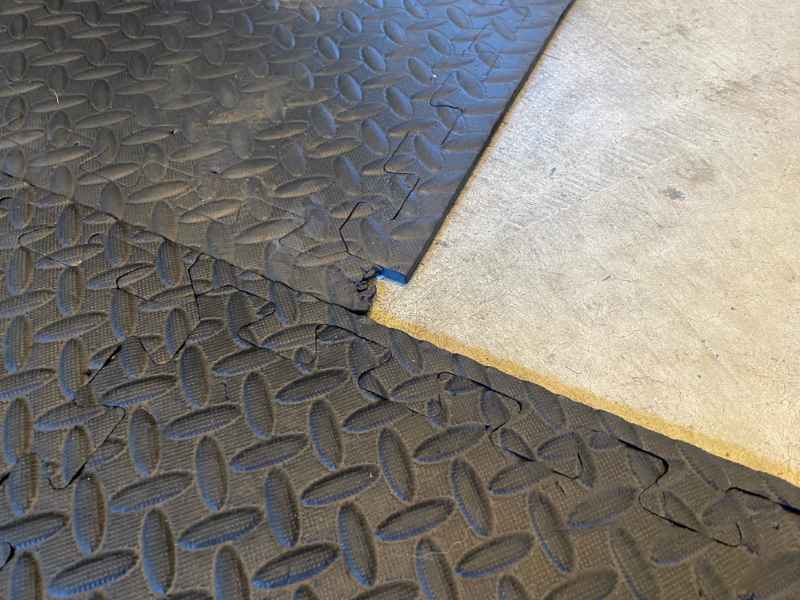
- High-density EVA foam. Cheap, usually around 1/2″ in thickness.
- Rubber (like stall mats). A little more expensive, but more durable and come in thicker sizes, including 3/4″.
I used EVA foam interlocking mats under my first power rack, a $500 ARMSTAFF four-columned beast.
The foam mats were inexpensive (I bought about $90 worth and had more than enough mat for a rack, workout bench, and my wife’s Peloton), was easily assembled like a jigsaw, and had an antimicrobial coating to reduce smelliness and mold.

High-density foam is great as you can exercise without sinking too far into the mat. A firm floor is crucial for heavy lifts (hence why doing heavy deadlifts in running shoes isn’t the smartest move) and reduces the excess range of motion in your lifts.
Rubber mats are slightly more costly, but have more options in terms of thickness, with rubber horse stall mats (these are frequently seen on lifting platforms) as thick as ¾”.
Any thicker and the mat will start to develop a lot of bounce, making it less optimal for standing on to lift.
Rubber mats for putting under a power rack are typically 1/2” to 3/4” thick, while EVA foam mats are 1/2” thick.
There are advantages and disadvantages to both.
While inexpensive, EVA foam mats can quickly chip apart, with the edges fraying apart after a few months.
Rubber mats cost a little more, but give you more flexibility in thickness and are more durable. Rubber mats are also heavier, which prevents sliding and helps weigh down the platform.
Speaking of which…
Lifting platform
This is the premium option for serious lifters who want the best for their power rack.
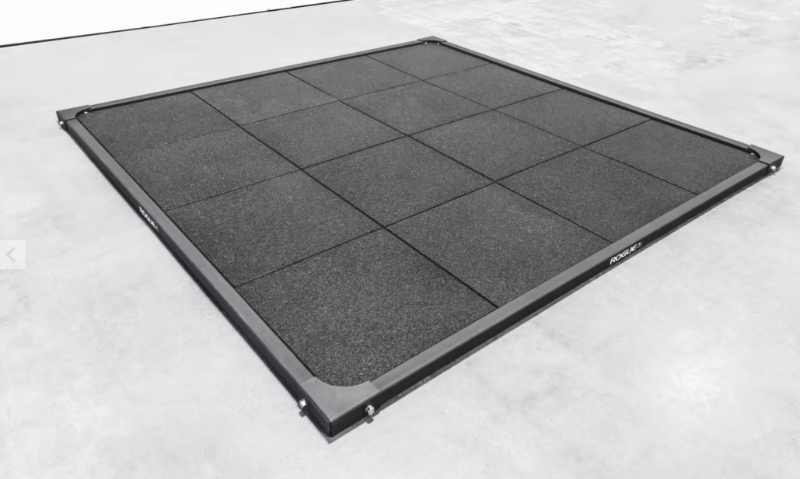
Lifting platforms are a combination of a steel frame and rubber mats (with options for placing plywood down the center).
Within this category, there are two types of lifting platforms: Olympic or deadlifting platforms.
The main difference is the shape.
- Deadlifting platforms are shaped like rectangles (8’ by 4’), made primarily for—you guessed it—doing deadlifts.
- Olympic platforms are square shaped (8’ by 8’) and provide lots of room so that you can drop overhead lifts safely.
Power racks can be easily bolted down into the lifting platform, widening the base of the rack and increasing stability.
[People who deadlift a lot at home should also consider investing in a deadlift bar jack. Keeps the weights off your floor between sets and makes it way easier to slide plates on and off the barbell.]
Drilling the rack into the platform is a great option for people who are weary of bolting their power rack down into the floor or concrete.
The frame of lifting platforms vary, as do the finishes that each brand offers.
For example, Rogue’s Olympic platform has either a crumb finish (crumb rubber is the same material from the “bouncy” bumper plates) or a smooth rubber finish.

This platform also has a 2” by 2” steel frame that is bolted into the floor for serious stability.
As you can guess, with all this material comes an increase in price. Lifting platforms can get pretty pricey, with even the bargain frames costing around $250 (mats not included).
Rogue’s Olympic Platform, the biggest one they have, starts at $395 for the frame, and then there’s the cost of the mats to tack on top of that ($300-600 depending on if you want plywood down the center).
See also: The Ultimate Guide to Power Racks
If you want to go the DIY route, there are some great plans floating around the interwebs.
The Art of Manliness put together this great DIY platform together for around $170.
Later, I will tell you about my current lifting platform that is super easy to assemble and is inexpensive to put together.
Power Rack Flooring – FAQs
Can I put a power rack on carpet?
While carpets can be effective at reducing noise and protecting the flooring underneath, carpet is not a great flooring material for a power rack.
For starters, the rack is more likely to slip and slide on carpet, especially high-pile carpet that is very soft and will cause the rack to wiggle as it’s not very even.
Additionally, a rack that doesn’t have the rubber tips on the feet will damage the carpet and leave indentations that are difficult to remove over time.
And finally, sweating all over a carpet will lead to a smelly workout area pretty quickly as it’s harder to clean.
That said, carpet is a decent “for now” solution if you don’t have the budget for proper gym flooring or you don’t want to wait for it to arrive.
Can I put a power rack on hardwood?
Putting a power rack directly on hardwood flooring is not advisable. While hardwood floors, whether it’s engineered hardwood, cork flooring, or solid hardwood, are fundamentally very strong, it’s not indestructible.
All it takes is dropping a 45-lb weight plate or a loaded barbell onto it and you will chip the finish (easy fix if you are moderately handy) or worse, buckle the floorboards.
Use stall mats as a bare minimum to prevent damage to your hardwood floor. They are significantly cheaper than the potential damage and cost that can incur from deadlifting on hardwood, or permanent impressions left by the base of the power rack.
But even rubber mats have their limitations, and more serious lifters will want to invest in something more robust (which we will look at next).
I would not recommend EVA foam mats for hardwood floors. They are not thick enough and over time the rack and weights will sink into the floor, creating impressions and damage.
Finally, adding a protective layer between the hardwood and your rack will reduce vibration and rattling through the house when you are lifting weights.
You’re doing both the structural integrity of your home a favor as well as the sanity and eardrums of the people that share the house with you.
What should I put under my power rack for hardwood floors?
A lot of this depends on the type of flooring you have, when the house was constructed, and how much weight you are going to be using on the power rack.
If you really want to protect your hardwood floors, here’s a set-up that I’ve tried in the past that provides an excellent amount of protection for hardwood floors and your strength training equipment.
⭐ Carpet padding for a base layer. This is to protect the hardwood from scratches and chips from the sheets of plywood.
⭐ Plywood for firmness and rigidity. Plywood is an excellent form of wood (that is also inexpensive) that spreads out the weight from the rack and drops.
⭐ Stall mats for noise and impact suppression. Rubber mats to cushion the blow of the weights, reducing noise, and also for comfort in terms of not getting splinters in your feet from the plywood.
This three-layer combo may sound like overkill, but each layer has its own function and makes the others more effective at protecting the floor and gym equipment.
Plus, the materials required for this would run you around $150-200, which is an inexpensive way to protect the hardwood floor and give you peace of mind when working out.
The Bottom Line
Investing in a power rack is one of the best things you can do for your health and your wallet.
With no commute to the gym, no line-ups for the rack, and no gym memberships to pay month over month, your power rack of choice brings big lifts to the comfort of your home.
By putting the right material under the power rack, you ensure that the rack will continue to do its job, your floor will go unharmed, and your gains can continue unimpeded.
More Stuff Like This:
6 Best Power Racks for Your Home Gym. This list of the best power racks offers the best value and will take your home workouts to the next level. Let’s do this.
What is a Flat Foot Power Rack? Flat foot power racks are perfect for people who want a rack that doesn’t require bolting into the floor. Here’s more on flat foot racks, the pros and cons, and more.