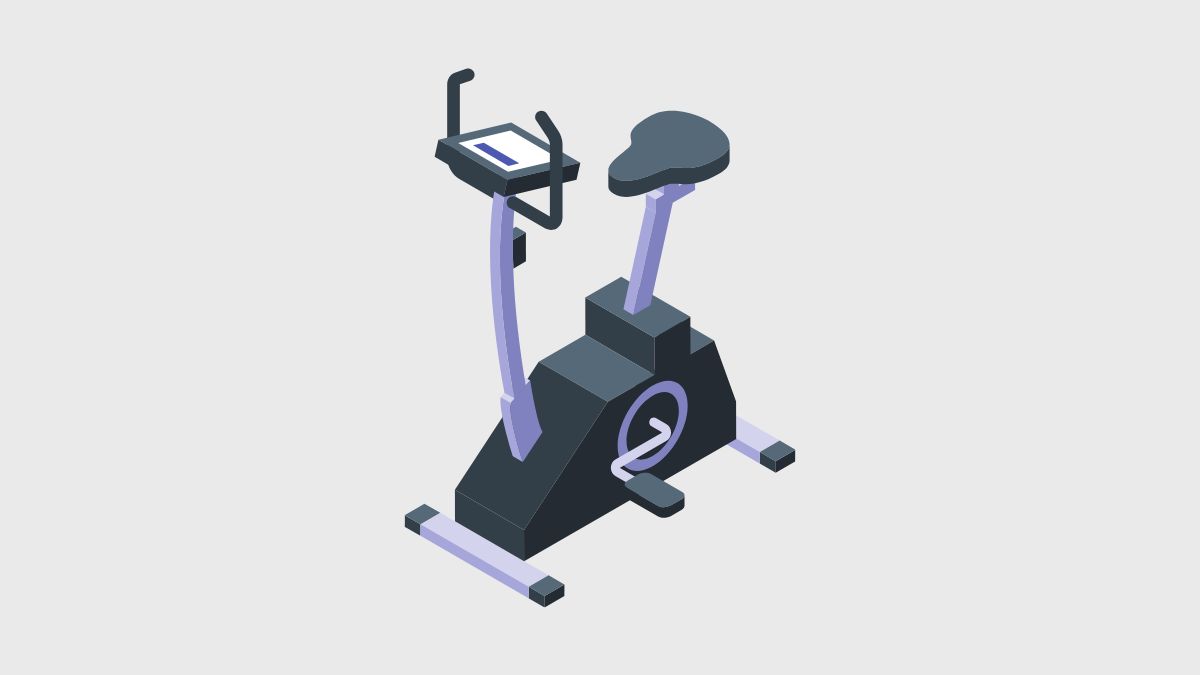
The stationary bike is an excellent cardio machine for beginners and experienced trainees. But proper form and technique is crucial. Here’s how to set-up the bike for success, tips for proper form, mistakes to avoid, and more.

The stationary bike is one of my all-time favorite cardio machines for weight loss.
It’s low impact, I can listen (or watch) my favorite podcasts, and it’s easy to crank up the resistance levels on the stationary bike for added calorie burning.
But ultimately, a lot of people end up using the stationary bike improperly, both in terms of how they set up the bike (pedal and seat height) to the technique they use (slouched over, knees too bent, etc).
In this guide, I’ll share some of the things that I’ve learned over my years of cycling, both indoors and outdoors. The information you’ll see below will help you know how to set up the stationary bike correctly, how to make the most of every workout, and even the basics of form and posture.
By the end of this post, you’ll know everything you need to know to maximize the time you spend training on the stationary bike and take your workouts to the next level.
Let’s get to pedaling!

How to Set Up a Stationary Bike for Success
Step #1: The Seat
Regardless of what types of stationary bikes you use, the first step in your setup will be the seat.
After all, you’re going to spend most of your workout sitting down, so you’ve got to make sure that it’s set up correctly and at the right position and angle to provide support without getting in your way.
To begin, stand on the ground beside the bike. Place your hands on your hips and feel your iliac crest, the rounded-off bone we all call the “hip bone.”
Feel the height of that bone. Now set the seat’s height to match.
Be warned: it’s not an exact measurement because of the rounded-off shape of the hip bone. But it’s a good guide to start with.
Once you’ve got the seat set to the right height, mount the bike and see how it feels. You should be able to place your feet comfortably on the pedals and extend your legs almost entirely (with just a 5 to 10-degree bend in your knees) when pushing downward. That’s how you know the seat is set correctly.
But you’re not quite done just yet. Some stationary bikes also allow you to adjust the position forward and backward, not only up and down.
In this case, you’ll want to adjust the seat so your legs run in a straight line from the front of your knee to the ball of your foot resting on the pedal at 9 o’clock position.
Sliding your seat too far backward or forward could decrease glute engagement or increase knee strain. Make sure to get the angle right to ensure the most efficient biomechanical movement.
Step #2: The Handlebars
Now that the seat is correctly set up in the right position, it’s time to set the handlebars.
You don’t want them to be so far forward that you have to lean extra-far to grip them, or so far backward that your knees bump them. You also don’t want them so high that you can’t lean on them, or so low that leaning on them will put your back at risk.
Try this:
- Sit on the seat with a straight back and upright position.
- Raise your arms directly out in front of you.
- Hinge forward at your hips, keeping your spine neutral.
- Keep hinging forward until your arms grip the handlebars.
- Raise or lower the handlebars until you find a setting that feels right, and slide them backward and forward as needed.
Your back should never round when leaning forward and gripping the handlebars. They should be set at a height and position that helps you to maintain the neutral spine.
Step #3: The Pedals
Last but not least, you’ve got to put your feet on the pedals.
- If you ride with regular shoes, make sure the balls of your feet are resting in the middle of the pedals.
- If you ride with clip-on shoes, the placement of the clip will determine your foot placement. However, be warned, you may need to adjust the seat slightly if the clip isn’t placed directly beneath the ball of your foot.
If you’ve set the handlebars and seat correctly, it should be a simple matter of mounting up and starting to ride. Foot placement will feel “natural” on the pedals because of how you’ve configured the bike.

Classic Stationary Bike Form and Posture Mistakes
Now that you’ve got the bike set up, it’s time to master the form and posture.
Here are a few of the mistakes you should absolutely avoid:
Mistake #1: Rounding Your Back
Rounding your back will compromise your spinal position and may lead to lower back injuries or pains.
When cycling, make it a point to always keep a neutral spine, with your core engaged, your head lifted, and your shoulders pulled back.
Be aware that you’re more likely to slump forward as you tire out, so focus on maintaining the correct spinal posture.
Mistake #2: Relaxing Your Core
Your abs and lower back muscles both play a role in the cycling process. Your lower back help to brace your glutes and hamstrings, and your abs brace for your quads to push off against.
Over the course of the workout, you may find that your core muscles grow tired and begin to relax. Focus on maintaining constant tension in your core even if you’re feeling tired. It’s crucial for both your posture and performance.
Mistake #3: Leaning Too Hard on the Handlebars
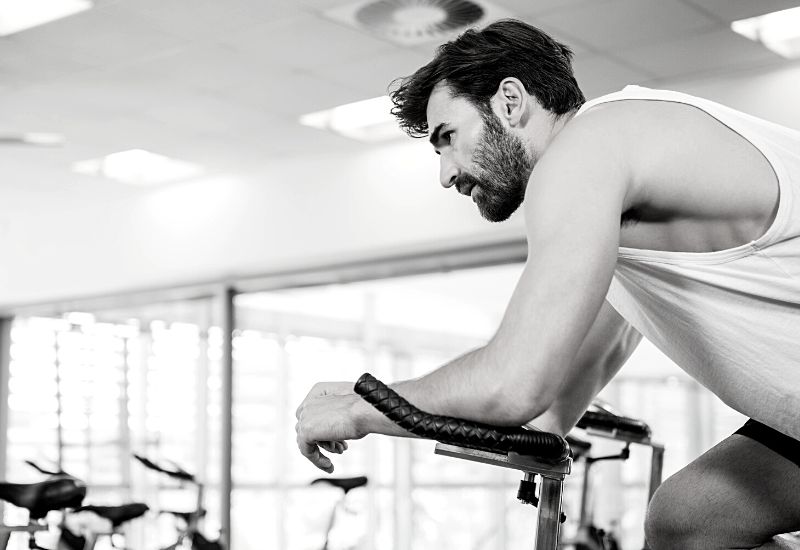
The majority of your weight should be on the saddle/seat, with your arms only supporting a fraction of your weight on the handlebars.
If you lean too far forward, you could strain your wrists, forearms, elbows, and shoulders. Plus, it’ll detract from the work your lower body should be doing.
Grip the handles as a means of helping to maintain the proper spinal posture and maintain your balance while you pedal, but let your legs and the bike seat handle most of your body weight.
Mistake #4: Pointing Your Toes
Pointing your toes downward to push against the pedal can increase the risk of knee strain.
Instead, focus on keeping your feet flat on both the down and up stroke. Use the ball of your feet to push, but avoid pointing your toes.
Mistake #5: Flaring Out Your Elbows
Your elbows should stay tucked against your sides as much as possible. Flaring them out too wide may cause you to wobble side to side as you pedal, which engages your hips and lower back muscles in an incorrect way that may increase the risk of strain.
Plus, if your elbows flare out too wide, you may strain your wrists, elbows, and shoulders when leaning on them.
Mistake #6: Lowering Your Head
Always keep your head up!
Lowering your head compromises your airway, making it harder to breathe. Plus, it also increases the risk that you’ll slump, hunch, or round your spine.
Keep your head up and looking forward when cycling. Focus on something directly in front of you and keep looking at it in order to maintain proper head posture.
How to Use a Stationary Bike Like a Pro
Now that you’ve got the bike set up and you know what form mistakes to avoid, it’s time to get working!
If you’re going to start using a stationary bike for weight loss and fitness training, here are some tips that will help you use it like a pro:
✅ Speed Up
Start off your workout at a slower speed to warm up, but once you’re warm, start pushing the pace.
Pedaling faster is an amazing way to burn more calories and push your fitness. A good stationary bike HIIT workout can help you to increase your cardiovascular conditioning, aerobic capacity, and your endurance.
You don’t have to add resistance to make the workout harder; just pedal faster, aiming for around 90 to 120 RPMs. Mixing 60-second intervals of low-resistance, high-speed pedaling with 30 to 60-second recovery intervals (low resistance and low speed) will help you rocket through your workout much faster. You can be done and get on with your day in just 20 to 25 minutes!
✅ Add Resistance
To increase the number of calories burned on a stationary bike, you can increase the resistance enough to make the workout challenging.
When you begin, you’ll likely start out at “flat road feel”, which is anywhere from 0 to 25% resistance. However, as you advance farther into the workout, you can tackle hills (simulated by increasing resistance to 50, 75, or even 100% resistance) to really build muscle and burn calories.
You can switch between pedaling standing up (to engage your glutes and hamstrings) and sitting down (to focus on your quads). But by adding resistance, you increase calorie-burning and boost your muscular endurance.
✅ Maintain a Good Cadence
Ideally, you should never cycle slower than 60 RPM. This will be your “warm up” cadence, mild enough to get your body warmed up to the effort without putting your muscles or joints at risk. You’ll also be likely to maintain a slower cadence when tackling challenging hills.
For the majority of a steady state workout, you’ll likely work in the 60 to 80 RPM range. To make the workout more challenging for your muscles, increase the resistance. To push your cardiovascular system harder, increase the cadence and pedal faster.
For a high-intensity interval workout or sprint-pedaling, you’ll end up working in the 90 to 120 RPM range. Typically, you’ll use very little resistance, but focus on maximizing speed only.
Any higher than 120 RPM and you are likely to put your knees, hips, and lower back at risk. If you’re hitting 120 RPM or higher and it’s too easy, add a bit of resistance and slow down to around 110 RPM at the most.
✅ Keep Breathing
This is absolutely crucial—for all cardio machines, really!
One of the great benefits of stationary bikes is that you can sort of lose yourself in the repetitive motion. You’re going to be pumping your legs up and down to pedal the bike, shifting side to side in your seat, and either listening to music or watching something to entertain and distract yourself.
All of these things can actually feel slightly hypnotic. The rhythm of movement will push your mind into a state of mild hypnosis, where you all but forget what you’re doing (working hard pedaling) and you get lost in the cardio.
But breathing is absolutely critical for this hypnotic state. A steady rhythm of breathing (in through your nose, out through your mouth) will help you to lose yourself in the workout. You’ll find it becomes a whole lot easier to sustain for the full duration when you settle into a steady rhythm of breathing.
And, of course, breathing helps your body to absorb enough oxygen to keep your muscles working. Oxygen is also needed to activate stored fats to burn for energy.
By breathing properly, you ensure there is enough oxygen to turn fat into the calories your muscles need to maintain the exertion of your workout. If you don’t breathe, you’ll run out of energy before you’re done with your workout.
The Bottom Line
The stationary bike is a truly wonderful cardio machine, one that is well-suited to even gym newbies, but which can offer amazing benefits and a highly effective workout—but only if you use it right.
The tips I shared above will help you to set up the stationary bike step by step, master your form and posture, and really maximize the effectiveness of your workouts.
Every time you sit down to pedal, you’ll burn more calories and increase your fitness more efficiently because you’re putting in the right amount of time and effort to see results.
More Stationary Bike Guides and Articles
Recumbent Bike vs. Upright Bike: Pros, Cons, and Which One is Best for You? Wondering if a recumbent bike or upright stationary bike is better for your workout goals? Join us as we compare the pros and cons of both to help you determine which is best for your fitness goals.
The 6 Best Cardio Machines for Weight Loss (And How to Use Them For Best Results). Looking to turbocharge your weight loss in the gym? Here’s a look at the best cardio machines for losing weight, including how many calories each machine burns.